1 Introduction to webhook interface
The webhook interface allows clients to receive notifications about events related to mailings, recipients, etc.
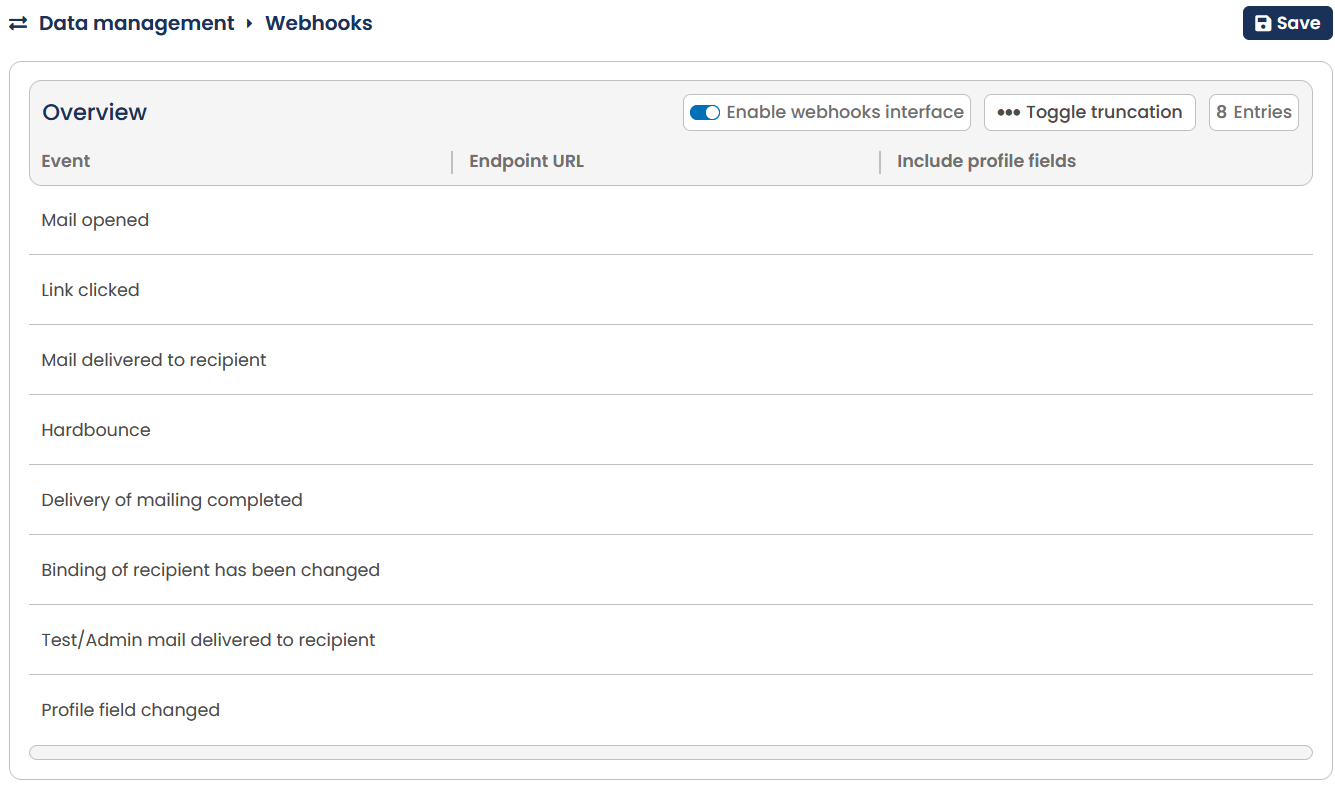
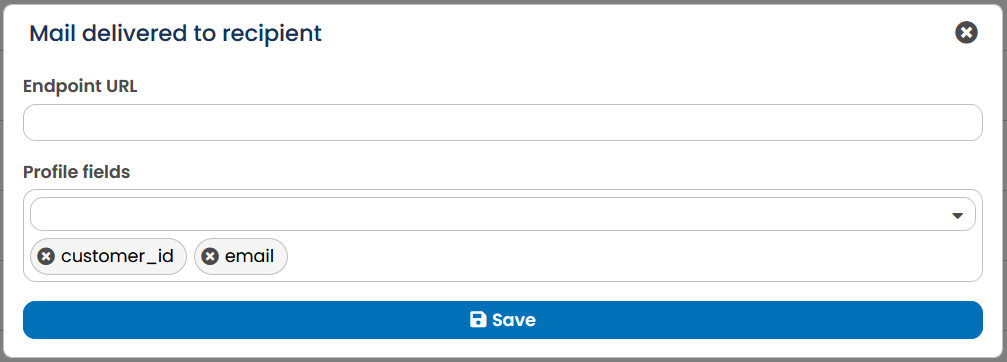
In EMM/OpenEMM you can create new webhooks in the Webhooks section of the Data management menu. To do so, you first have to choose one of the eight available webhooks by clicking on one. A pop-up window will then open where you can enter an endpoint URL (provided by the receiving system like integration platform n8n or a CRM software). Where applicable, you can also define the profile fields of the recipient who triggered the event that should be included.
Endpoint URL: The endpoint URL determines where the webhook is located that receives the information.
Included profile fields: The recipient profile fields included in a webhook message are those that get transmitted by EMM/OpenEMM to the endpoint URL of the webhook.
After making your selections, click Save and finally activate the slider Enable webhooks interface at the top of the webhooks overview table.