5.2 Creating and managing categories
Each content of the newsletter (building block, image) that you upload in the Mediapool should be assigned to a category to give greater clarity. In particular the overview will be better if you have a numerous collection of images and texts. In addition this makes it simpler to categorize the contents not only for current but also for future newsletter projects.
To call the Layout Builder Category function, click on Files in the main menu and then switch to the Categories submenu. On the following page E-Marketing Manager clearly lists all categories that have already been created.
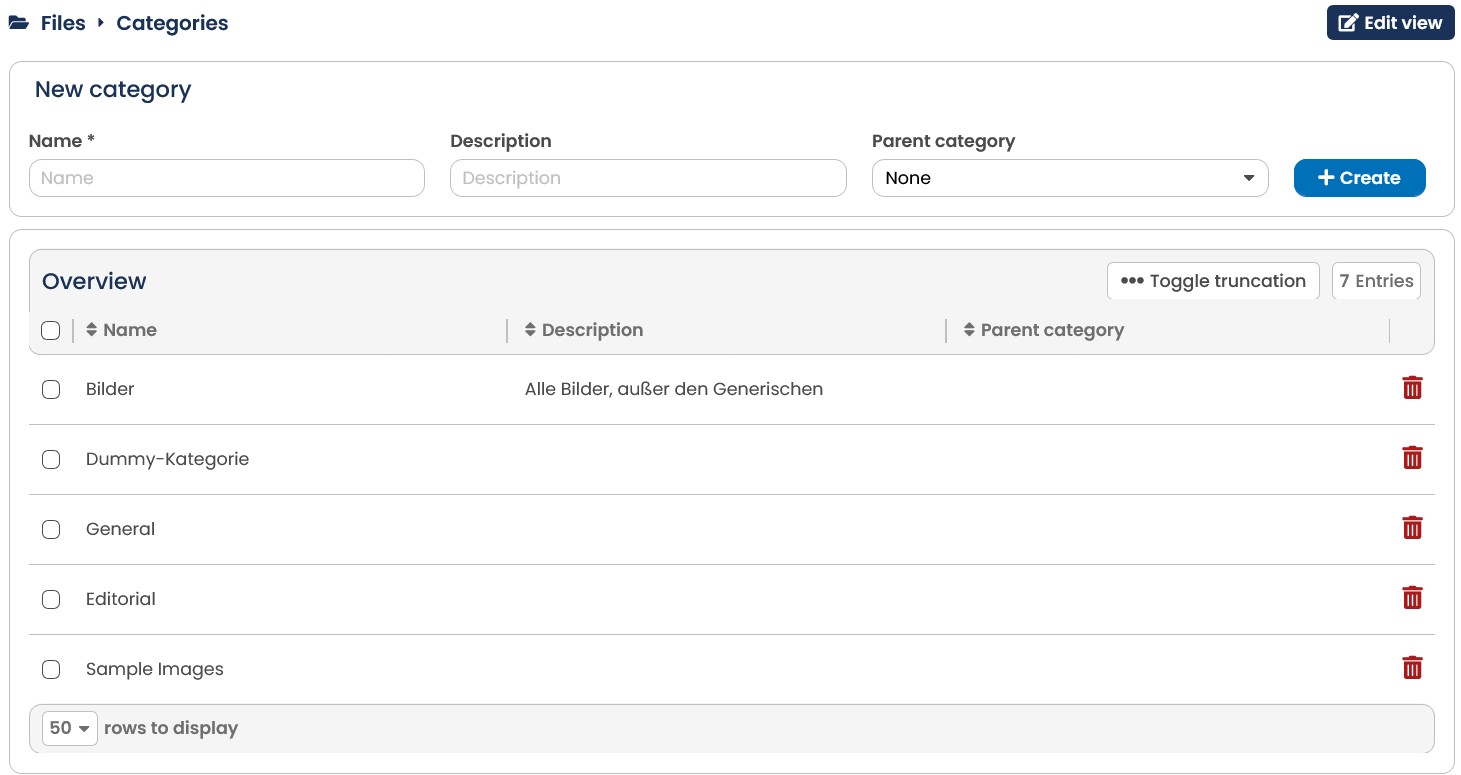
Fig. 4.5: Each element stored in Layout Buildere Mediapool is assigned to a category.
The table is structured as follows: As first there a little boxes with which you can choose or delete different categories, followed by the name, description as well as the information about whether the category is being shown in the floating bar or if it is hidden. By using the icon in the column on the right hand side you can delete categories from the table.
5.2.1 Creating categories
To create a new category, enter all relevant information in the New category tile. EMarketing Manager only needs a few pieces of information from you to create the category. Enter the name you want to give to the category in the Name input field.
You do not have to enter anything in the Description field, however we recommend that you roughly describe the category with at least a few words here.

Fig. 4.6: Only a few pieces of information are needed to create a new category in Mediapool.
When Mediapool is to manage the category as a hidden category, tick the checkbox of the same name, once you are finished. Otherwise ignore this setting. By clicking Save, EMarketing Manager enters your new category in Mediapool.
So that you can structure your content even better in the media pool, it is also possible to create subcategories in existing categories. This allows you to find your content more quickly and the scrolling lists per category are shortened.
If, for example, you manage different mailing lists in one client, you can create a main category for each mailing list and, within the main category, create the sub-items headers, products, generic images, etc..
5.2.2 Editing a category
To edit a category, click the corresponding line. E-Marketing Manager now shows the Edit Category tab: The input field Name contains the name of the category, which can be changed as desired. Directly underneath this is the Description input field, which, for greater clarity, should contain some information about the category.
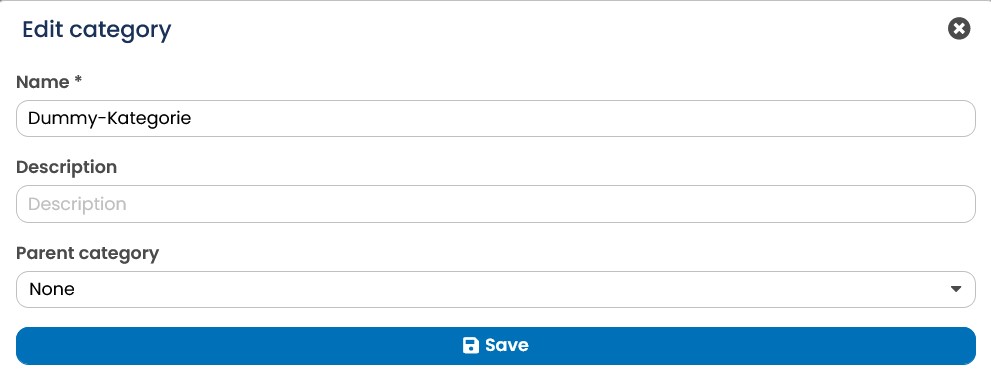
Fig. 4.7: Give a category a title that is as far as possible self-explanatory.
E-Marketing Manager accepts all of your settings and confirms this with a short acknowledge message when you click on Save. If you want to remove the category from Mediapool, click on the Delete button and confirm the security query by again clicking on Delete.