8.5 Export function for recipient data
The navigation bar offers an Export function which is accessed over the Data management tab.
If you select the Export profile menu item, you will first be shown an overview of your saved export profiles. By clicking on an existing export profile, the input dialog opens again with all the settings you have made. If you do not want to make any adjustments to your selection, you can start the export simply by clicking the Evaluate button in the header.
To start a new export process, first click on New. Enter the relevant data on the next page.
In the Export settings area, you can limit the selection using the Mailing list, Target group, Recipient type, and Recipient status selection fields. If you use reference tables, you can also select the desired table here for which the data is to be exported together with the recipient data.
Note: With the "On blocklist" status, only recipients that were actually created as recipients and meet the other export criteria are output. The complete blocklist incl. precautionary blocklist entries can be exported directly in the blocklist table via the Download blocklist button, if required.
The restriction is optional. You can combine the selection fields in any way, but it is not possible to select several options in one selection field. If you do not make a selection here, all recipient profiles in your database are exported.
Note: A maximum of 500,000 profiles can be exported. In addition, only those recipients are exported who are on a mailing list for which the user has authorization, if you are working with restrictions here.
All available profile fields are displayed in the Columns for Export area. You can select both system fields and your own profile fields for export.
Note: Fields that are set to invisible or read only do not appear in the selection list. However, existing export profiles with these fields will still work, this also applies to autoexports.
The export file contains all the data for the selected fields, each of which is displayed as a separate column.
If you have not restricted the recipient status in the above, you can display the recipient status for one or more mailing lists in the Add status of recipients on following mailing lists area. The recipient status is displayed numerically and can have the following values:
| Value | Status |
|---|---|
| 1 | active |
| 2 | bounce |
| 3 | opt out by admin |
| 4 | opt out by recipient |
| 5 | waiting for double opt in verification |
| 6 | on Blocklist |
| 7 | temporarly inactive |
In addition to the status, the date when this status occurred for the respective recipient and a remark about the way this status was set is also given. This means that three columns are output per mailing list you have selected. In the export file the ID of the mailing list is shown in the column name. You can find the ID of each list in the mailing list overview.
In the File format section you specify how your CSV file should be configured. In addition to Separator, Text recognition character and Text marking, you can also specify the Character set here. If you open the data with Excel and process it further, then the ISO 8859-15 character set is recommended, since it can display umlauts correctly. At the bottom of the section, you will find the Export decoded values switch. If you activate this, text instead of numerical values for gender, mailing type and user status will be output during export. If you also select the option Add status of recipients on following mailing lists, the name of the mailing list and the associated recipient status will also be displayed as a text value.
Example: If the value for gender is 1 in the EMM, the value Ms. will be displayed in the export file.
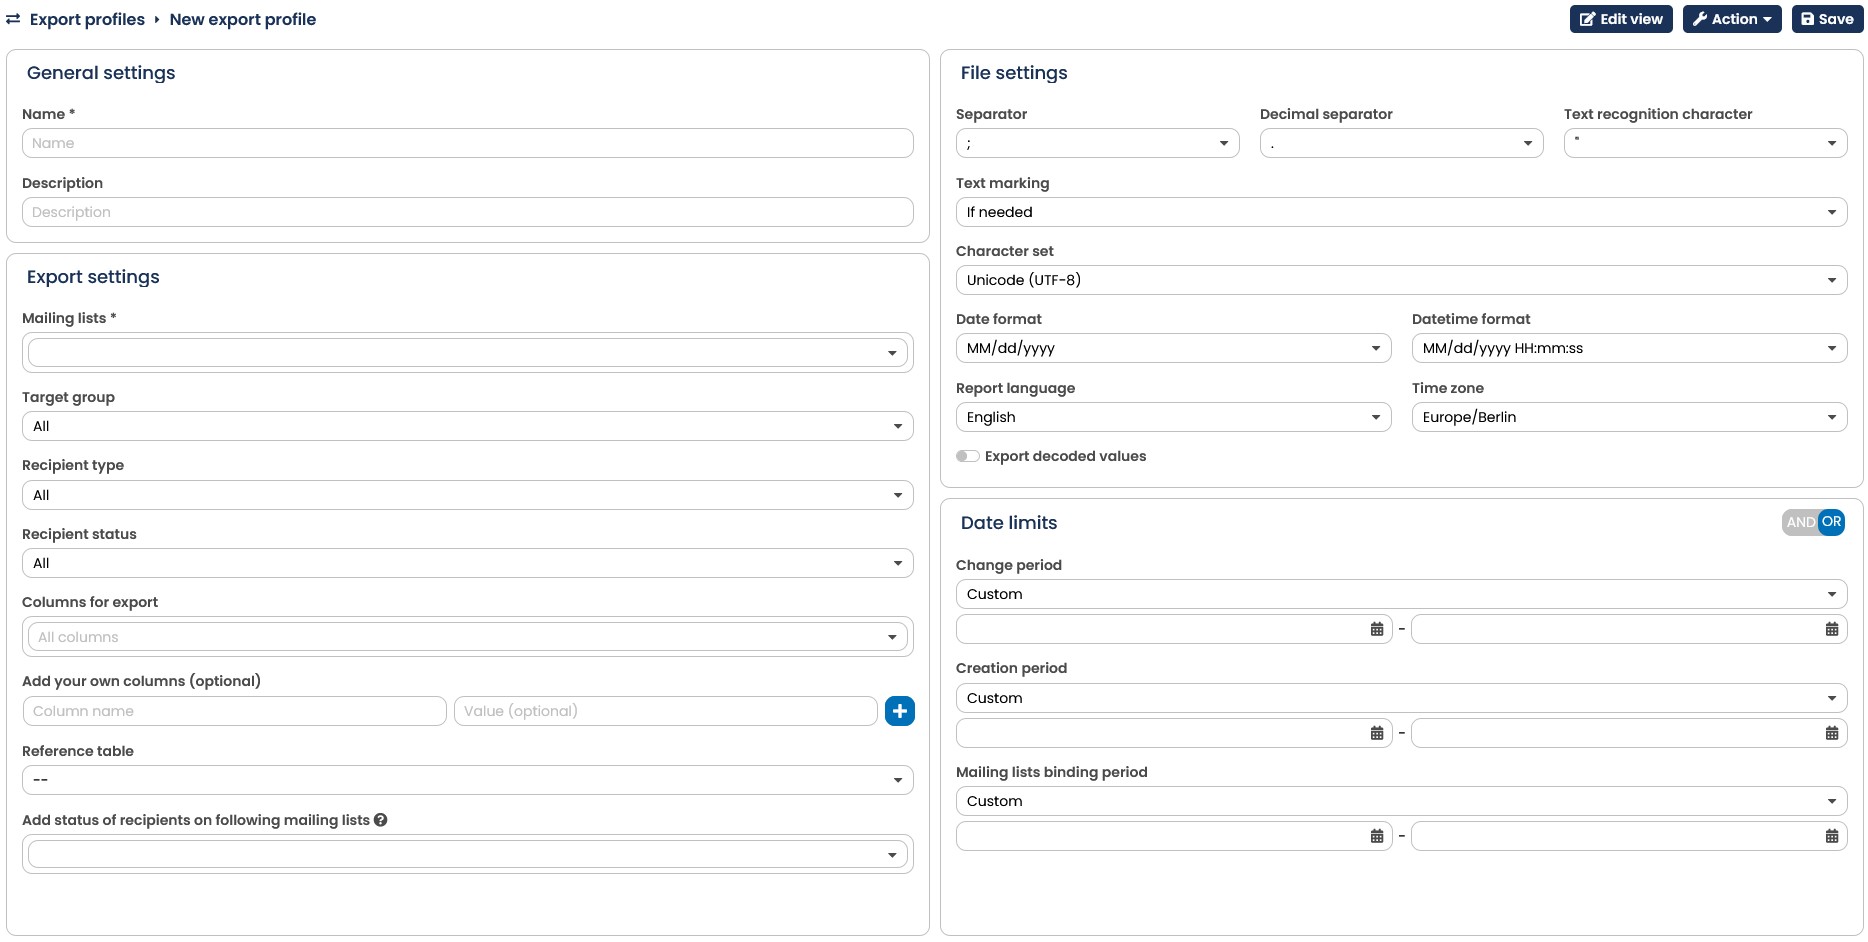
Fig. 7.16: In the detail view you can define your very own export profile.
You can also limit the recipient data to be exported by selecting a date. Three different kinds of dates are available: the Change period, the Creation period and the Mailing lists binding period. If only recipients who meet one or several of these criteria are to be exported, click on the data input field next to the entry concerned and select the start time (left-hand field) and end time (right-hand field). If you want your export to involve the data of the last days, you can alternatively adjust the number in the third column Last x days. The column on the far right allows you to Include current day as well.
Once you have made all the settings, you can export the data using Evaluate after clicking on the Action button. As soon as the data has been loaded completely, the E-Marketing Manager result page shows you how many data records are contained in your export file. By clicking on the green download button, a dialog window opens asking you how to proceed with the file. The data is always exported as a zipped CSV file.
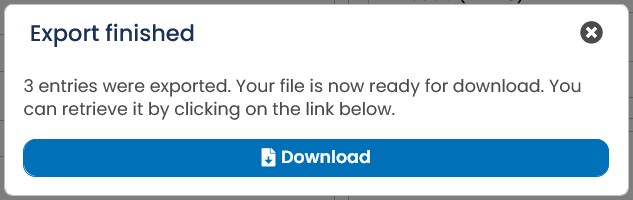
Fig. 7.17: Click on the link to start the export download.
The saved export profiles serve as a basis for auto exports (Premium). Read more about this in the Auto Export (Premium) chapter.